Here is a complete maintenance guide for all types of solar security camera, so they can work effectively and can give better quality.
If you own a solar security camera, you’ve probably heard they’re “set and forget” devices. Just install them and let the sun do the rest, right? Well, not exactly. While solar-powered security cameras are incredibly convenient, the truth is they still need regular care to work properly.
Here’s the reality: regular maintenance can reduce system failures by up to 87%. That’s a huge difference between a camera that works when you need it and one that dies right when something important happens.
A simple seasonal maintenance routine is the difference between a reliable outdoor security camera system and a dead battery during a critical moment. Let’s break down exactly what you need to do to keep your wireless security camera running smoothly.
1. The Power Source: Solar Panel Maintenance
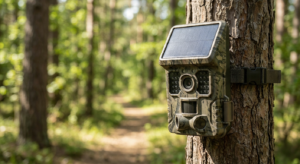
The solar panel is the heart of your solar security camera. Without clean panels, your battery won’t charge properly, and your camera will stop working. Even small amounts of dirt can cause big problems.
The Hidden Cost of Dirt
Dirty solar panels lose power fast. Research shows that soiled panels can lose between 7% and 50% of their energy output depending on how much dust and dirt has built up. That’s like losing half your battery charge just because you didn’t wipe down the panel.
But here’s what most people don’t know: even one bird dropping or a single leaf can cut power generation by more than 30%. Why? Because solar cells are wired together in series. When one spot gets blocked, it drags down the whole system. Think of it like a chain—one weak link affects everything.
The Rain Myth: Why Rain Isn’t Enough
Many people think rain will clean their solar panel camera automatically. While rain does wash away loose dust, it fails to remove sticky stuff like pollen, bird droppings, or grime that has “cemented” onto the panel from dew. You need to physically clean it with a soft cloth and water.
How often should you clean your solar panel?
- Standard environments (cities, suburbs): Clean every 6 months
- Dusty or pollen-heavy areas (farms, deserts, near trees): Clean every 3 months
Panel Angle Matters
Make sure your solar panel stays angled correctly (usually around 45 degrees, though this varies by location). This angle helps maximize sun exposure and lets rainwater run off naturally, taking some dirt with it. If the panel gets knocked or shifted, it won’t charge as well.
2. The Storage Engine: Battery Health & Longevity
The battery is usually the first thing to fail in any battery-powered camera. Most modern solar cameras use Lithium-Ion or Lithium-Polymer batteries, and they don’t last forever.
Understanding Battery Lifespan
The typical lifespan of a lithium-ion battery in a security camera is 3 to 5 years, or about 300 to 500 full charge cycles. After that, the battery starts holding less charge, meaning your camera will die faster even with a clean solar panel.
The Temperature Trap
Temperature is the enemy of batteries. Here’s what happens:
• Cold weather: At -20°C (-4°F), your battery can lose a huge amount of effective capacity. It drains much faster than usual, which means your solar-powered security camera might die overnight in winter.
• Hot weather: Temperatures above 45°C (113°F) can permanently damage the battery’s chemistry, shortening its total lifespan. This is especially common if your camera sits in direct sun all day.
The 40-80% Charging Rule
If your camera allows it, avoid keeping the battery at 100% charge all the time. Lithium batteries last longer when kept between 40-80% charge. Constantly charging to 100%—especially in hot weather—wears them out faster.
3. Image Quality: Lens and Sensor Care
A powered camera is useless if it can’t see clearly. This is where a lot of people overlook simple maintenance that makes a huge difference.
Dirty Lenses Cost You Clarity
Dirty lenses can reduce image clarity by 20% to 30%. That might not sound like much, but it’s the difference between being able to identify a face or read a license plate and getting a blurry, useless video.
Wipe your lens with a soft microfiber cloth every month. Don’t use paper towels or rough materials—they can scratch the lens.
Spider Webs: The Night Vision Killer
Here’s a problem most people don’t expect: spider webs. At night, your outdoor security camera uses Infrared (IR) LEDs to see in the dark. When spiders build webs across the lens, the IR light reflects off the strands and creates “IR flare” that blinds the camera.
Check for spider webs monthly, especially if your camera is mounted near eaves, trees, or other places spiders like to build.
Check for Moisture Inside
If you see condensation or fog inside the lens, your camera’s waterproof seal has failed. Most outdoor cameras are rated IP65 or IP66, which means they should be sealed against rain and dust. If the seal breaks, moisture gets in and damages the electronics. Contact the manufacturer if you see this problem.
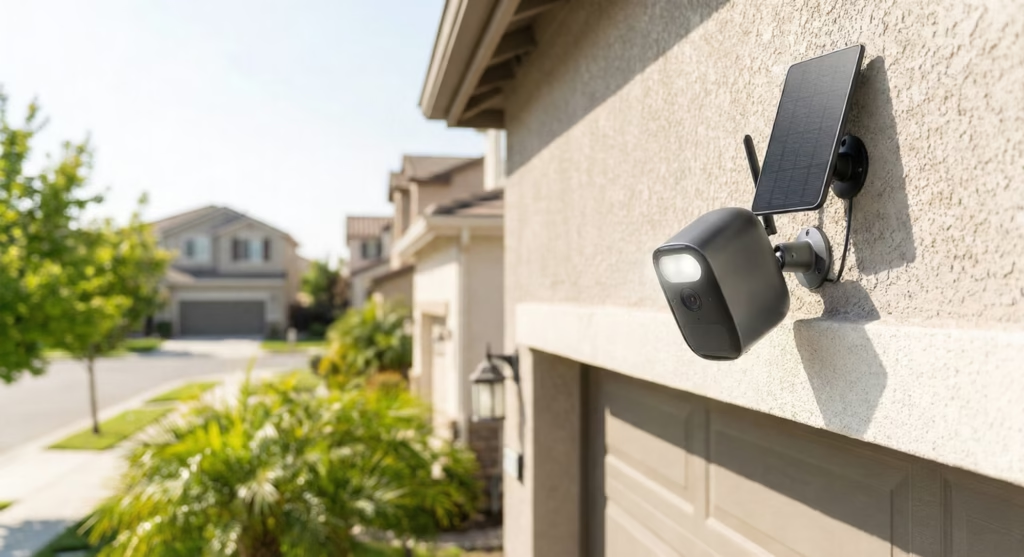
4. The Backbone: Connectivity & Physical Mounting
You might be surprised to learn that most camera failures aren’t caused by broken electronics. Instead, loose connections and mounting problems are the real culprits.
The 70% Rule
Industry statistics show that roughly 70% of system failures come from loose or corroded cables and connections, not from actual hardware failure. This means checking your connections is one of the most important things you can do.
Every quarter, check your cables for:
- Fraying or damage from weather
- Rodent damage (mice and squirrels love chewing wires)
- Loose connectors (give them a gentle wiggle to make sure they’re tight)
Wi-Fi Signal Strength
Wireless security cameras often get placed at the edge of your Wi-Fi range. As trees grow and leaves fill in during spring and summer, they can block or weaken your Wi-Fi signal. This is called attenuation.
Check your camera’s Wi-Fi signal strength (RSSI) seasonally, especially if you notice connection problems. You might need to add a Wi-Fi extender or reposition your camera slightly.
Tighten Those Screws
Wind and vibration gradually loosen mounting screws over time. Every 6 months, tighten the screws on your camera mount and check for rust. If you see rust forming, apply a rust-prevention spray or consider replacing the mounting hardware before it fails.
5. Your Solar Security Camera Maintenance Checklist
Here’s a simple schedule to keep your solar panel camera system running perfectly:
| Frequency | Component | Action Item |
| Monthly | Lens | Wipe with microfiber cloth; clear spider webs |
| Quarterly | Solar Panel | Clean surface with water; check for shading from new tree growth |
| Quarterly | Cables | Inspect for fraying or rodent damage; check tightness of connectors |
| Bi-Annually | Mounting | Tighten screws (wind vibration loosens them); check for rust |
| Annually | Battery | Check max charge capacity; consider replacement if age > 3 years |
6. Conclusion: Prevention Is Cheaper Than Replacement
Your solar security camera system follows a simple flow: sunlight charges the panel, the panel charges the battery, and the battery powers your camera to record video. When any part of this chain breaks down, your whole system fails.
The good news? Preventing problems is much easier and cheaper than replacing a “broken” camera that just needed a quick clean. A few minutes of maintenance every month can extend the life of your solar-powered security camera by years and ensure it’s working when you actually need it.
Remember the key maintenance points:
- Clean your solar panel regularly—rain isn’t enough
- Protect your battery from extreme temperatures
- Keep your lens clear and watch for spider webs
- Check connections and mounting hardware seasonally
Following this simple seasonal maintenance routine means your outdoor security camera will be ready to protect your property 24/7, rain or shine. Don’t wait for your camera to fail during a critical moment—start your maintenance schedule today.